Cushions and Curtains
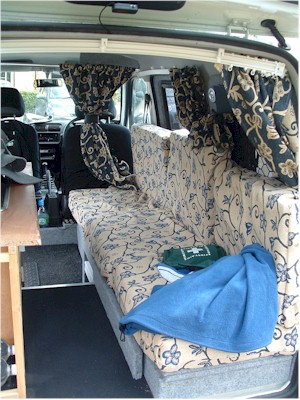 Not my natural comfort zone, but cushions and curtains were needed for the van. How hard could it be? (I found that out later!).
Curtains
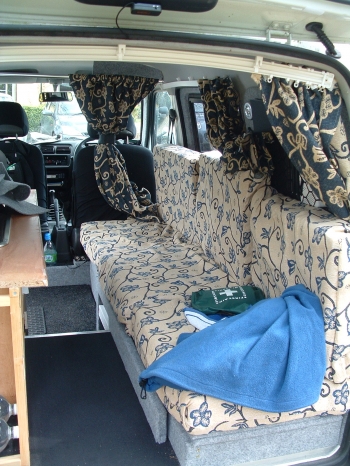
I decided to make some curtains. First thing was to get some curtain tracks from a DIY store. Self-tapping screws hold the tracks to the van. The side windows were easy enough as the track is straight. The rear windows needed an arch-shaped track. I managed to just about bend the plastic track to shape. It might be better to try and warm the plastic before bending it. Anyway, they work OK.
These simple tracks use the old fashioned hooks that attach to a "header tape" that is sewn onto the top of the curtains. So I measured up the windows, allowed a little extra width and height to make sure the curtains went beyond the end of the windows (for privacy) and started cutting out the material. We realised that the material looked as good from either side (purchased from The Range), so I decided to have the cushions showing the lighter colour, and the curtains would show the darker blue (from the inside). The added advantage to this arrangement was that the curtains would have the lighter colour on the outside to help reflect the sun on a hot day, rather than the dark blue which would make the van even hotter.
Material cut, I ended up purchasing a sewing machine from Argos. I didn't get the cheapest one, I think the one I purchased was the next one up. It was electric with pedal control, does zig-zag etc. First time I have used a sewing machine since leaving school! The machine was so cheap, I planned to either give it away or sell it on ebay when I finished. Hems were then sewn into the edges to tidy up the material, and then the header tape attached. The eagle-eyed amongst you will see that I put the header tape on the wrong side of one of the rear window curtains! So at the moment, one is one way round, and the other is the other!
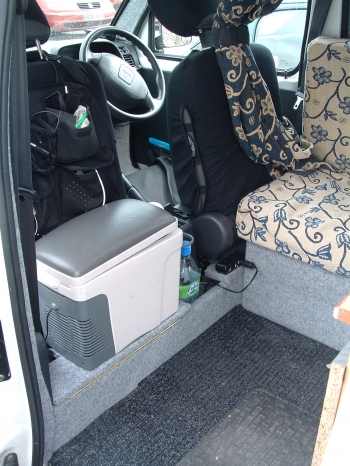
The front curtain took quite a bit of thinking and fiddling to do. I decided not to run the curtains around the front of the van in front of the windscreen and door windows. There isn't much room for the track, and when stowed away, I didn't want to lose any vision through the windows. So I decided to put the curtains behind the front seats. The next problem is that there are no natural anchor-points located across the roof there. There are some further forward, but that wouldn't really work.
The solution was a shower-curtain adjustable pole, and 2 simple brackets screwed to the van walls. I started by drawing the curtains back to the sides, but they were quite bulky and got in the way. I found myself sitting on one by mistake and almost brought the whole thing down on top of me. The simpler answer was to roll the curtain up on the pole. I made some loops of material to stop the curtains rolling themselves back down. Since then, I use a couple of seat-belt extenders to do the job. I was carrying them around anyway as the Carry's seat-belts are some-what short?!
 Cushions
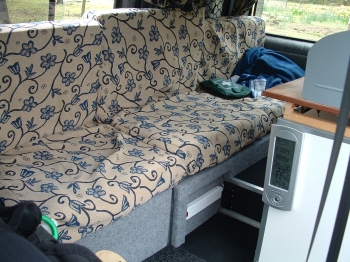
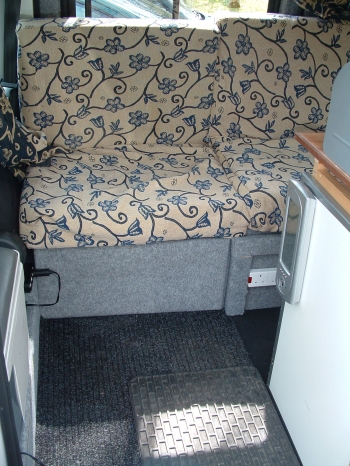
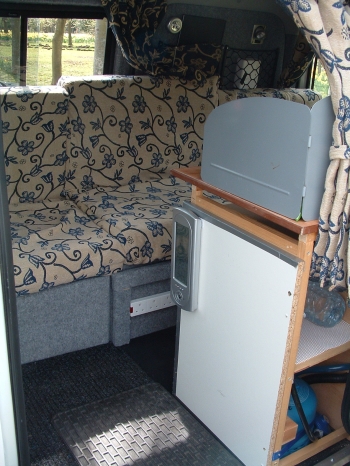
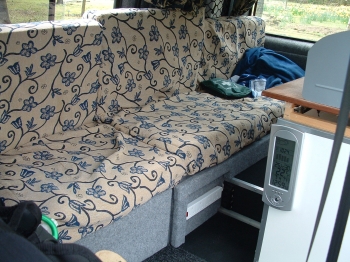
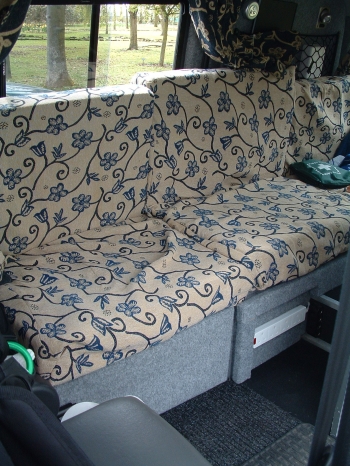
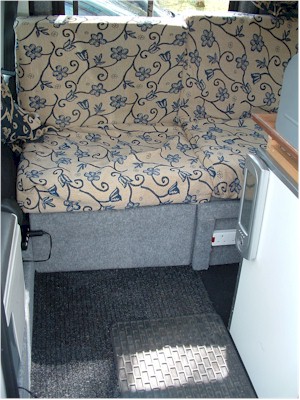
Next come the cushions. Then I measured-up and worked out the rough size I needed for the cushions. I bought the foam from "eFoam" - they recommended 10cm thick foam for a campervan seat/bed. You can order more of less any dimension foam on their website by entering the dimensions you require. I ordered 3 double-sectioned chair cushions - I ended up cutting the hinge so that I ended up with 6 sections. Until the kitchen cupboard was complete, I didn't actually know how wide the bed would be. However, I knew the size of the seat part. The seat backs could then be cut down to size once I knew how small to make them.
Next the covers. I cut out the material and begane to stich them up. I have not finished the covers yet (!) as I couldn't decide how to close them up at the back. A zip seemed too complicated for my simple sewing-machine abilities. Poppers might work, but I'll probably end up with velcro.
Gallery: 8
Click on an image to open the image galleryPlease note: the rights to any photos displayed remain with the owner of the photo, and if not my own, then they are used purely as examples and I take no credit for them.
